Category: Uncategorized

  • Beef Stew with Red Wine, Potatoes, and Pearl Onions

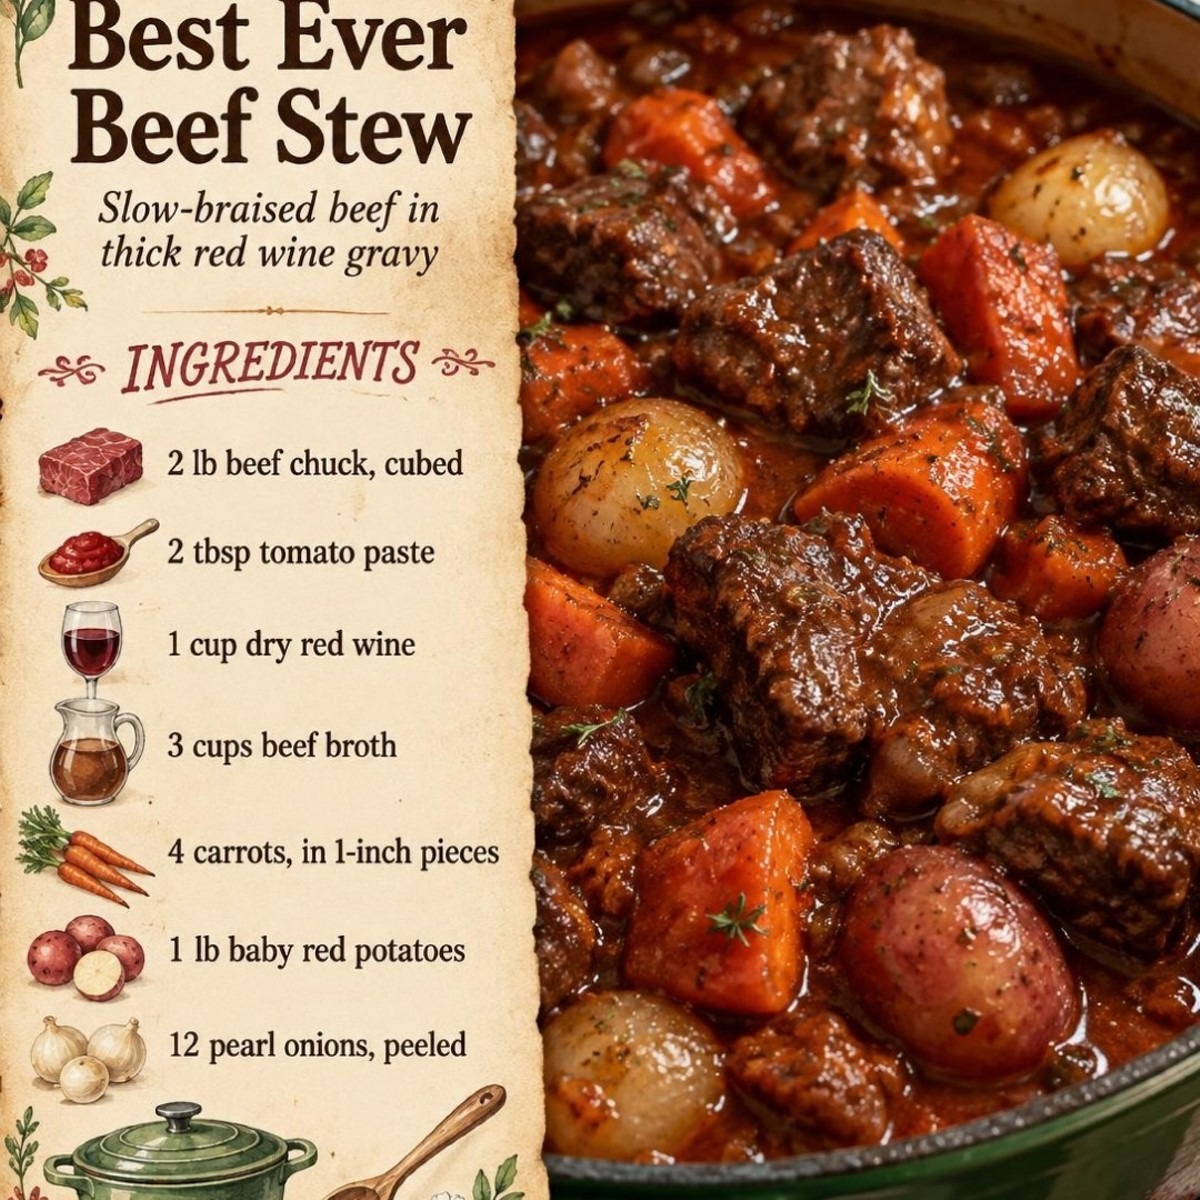
    Beef Stew with Red Wine, Potatoes, and Pearl Onions

    Do you want a stew with deep gravy, tender beef, and vegetables that still hold their shape? The key is to brown the meat well and give the braise enough time to soften the chuck slowly. You should also add the potatoes and carrots later so they finish with texture instead of turning mushy. Let the finished pot rest briefly before serving so the sauce settles and clings to the beef.

    Brown the Beef for Deeper Flavor

    Pat the beef dry before it hits the flour, because excess surface moisture makes browning slower and lighter. A dark crust builds the savory base of the stew, so take the time to sear the meat in batches instead of crowding the pot. Three to four minutes per side is enough to color the exterior without cooking the centers through.

    After each batch, set the beef aside while you work on the onions. The browned bits left in the pot are valuable flavor, and they will dissolve into the sauce once the wine goes in. That small step gives the stew its rich, layered taste without needing extra ingredients.

    Build a Rich Braising Liquid

    Cook the onion until it softens before adding the garlic and tomato paste. This keeps the garlic from scorching and allows the paste to darken slightly, which removes its raw edge. When you pour in the wine, scrape the bottom of the pot well so every browned bit ends up in the sauce.

    After the wine simmers for a couple of minutes, add the broth, Worcestershire sauce, thyme, bay leaves, and beef. The liquid should taste bold before it goes into the oven, because the braise concentrates everything as it cooks. If you want a slightly deeper wine note, you can use the full cup listed and let it reduce for the full 2 minutes before adding the broth.

    Time the Vegetables So They Stay Intact

    Add the carrots, baby red potatoes, and pearl onions after the beef has already braised for 1 1/2 hours. That timing gives the chuck a head start while keeping the vegetables from collapsing. Cut the carrots into even pieces so they finish at the same rate, and keep the potatoes small or halved only if they are unusually large.

    The stew is ready when the beef breaks apart with a fork and the gravy coats a spoon. If the sauce looks a little loose at the end, let the pot stand uncovered for a few minutes off the heat. That short rest helps the gravy thicken naturally without overcooking the vegetables.

    Storage, Reheating, and Make-Ahead Notes

    Cool leftovers before covering and refrigerating them for up to 4 days. The flavor often deepens after a night in the fridge, and the texture usually improves once the gravy has had time to settle. For longer storage, freeze portions for up to 3 months in airtight containers, leaving a little space at the top.

    Reheat the stew gently on the stove over low to medium heat, stirring occasionally so the bottom does not catch. If the gravy has thickened too much after chilling, loosen it with a splash of broth or water. You can also make the stew a day ahead and reheat it slowly before serving, which gives the flavors even more time to meld.

    Beef Stew with Red Wine, Potatoes, and Pearl Onions

    Prep Time 25 minutes
    Cook Time 2 hours 30 minutes
    10 minutes
    Total Time 3 hours 5 minutes
    Servings: 6 servings

    Ingredients
      

    • 900 g beef chuck cut into 1 1/2-inch cubes
    • 1 tsp salt
    • 1/2 tsp black pepper
    • 2 tbsp all-purpose flour
    • 3 tbsp olive oil
    • 1 piece yellow onion chopped
    • 3 clove garlic minced
    • 2 tbsp tomato paste
    • 240 ml dry red wine
    • 720 ml beef broth
    • 1 tbsp Worcestershire sauce
    • 1 tsp dried thyme
    • 2 piece bay leaves
    • 4 piece carrots cut into 1-inch pieces
    • 450 g baby red potatoes
    • 12 piece pearl onions peeled

    Method
     

    1. Preheat the oven to 165°C (325°F), using conventional top and bottom heat. Pat the beef dry, season it with salt and pepper, and toss it with the flour until lightly coated.
    2. Heat the olive oil in a Dutch oven over medium-high heat. Brown the beef in batches for 3 to 4 minutes per side, then transfer it to a plate.
    3. Reduce the heat to medium. Cook the chopped onion for about 5 minutes until softened, then stir in the garlic and tomato paste and cook for 1 minute more, until the paste darkens.
    4. Pour in the red wine and scrape up the browned bits from the bottom of the pot. Simmer for 2 minutes, then add the beef broth, Worcestershire sauce, thyme, bay leaves, and beef.
    5. Bring the liquid to a simmer, cover the pot, and braise in the oven for 1 hour 30 minutes.
    6. Stir in the carrots, potatoes, and pearl onions. Cover again and return to the oven for 1 hour more, until the beef is fork-tender and the gravy coats a spoon.
    7. Remove the bay leaves, taste and adjust the salt if needed, and let the stew rest for 10 minutes before serving.

    Notes

    For a thicker gravy, let the finished stew stand uncovered for a few minutes before serving. Refrigerate leftovers for up to 4 days or freeze for up to 3 months.

    Note: the images in this post were created with AI (illustrative images).
  • Peach Cobbler Cheesecake with Buttery Crumb Topping

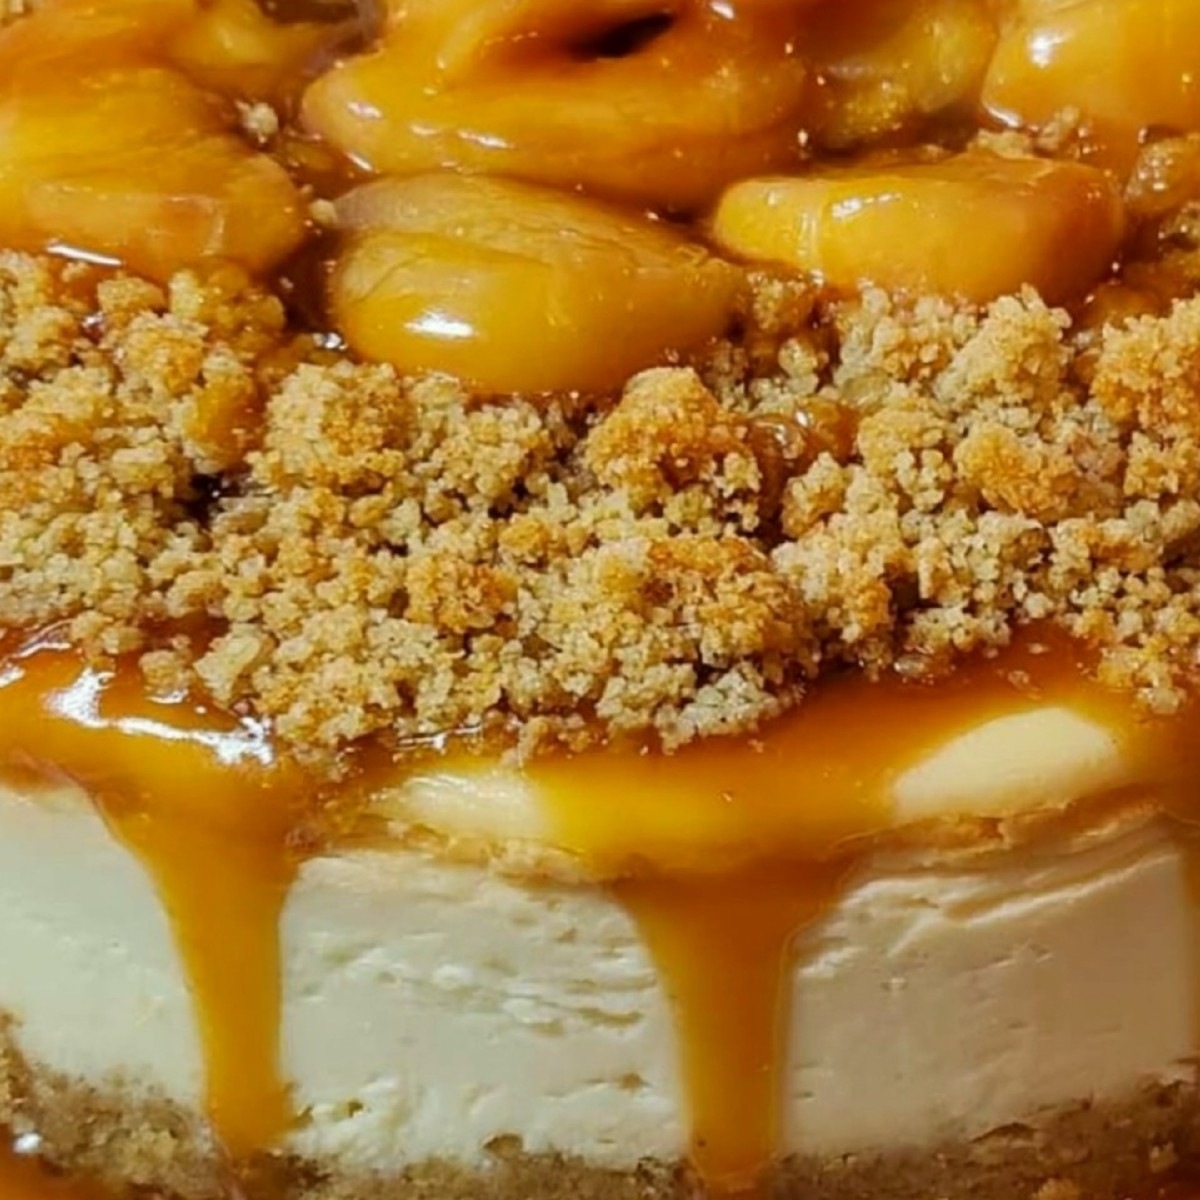
    Peach Cobbler Cheesecake with Buttery Crumb Topping

    If you want a dessert with a cool, creamy center and a warm peach finish, this one delivers both in each slice. The key to a clean texture is a smooth cheesecake batter, fruit that is lightly thickened, and a topping that stays crumbly instead of sinking in. You also need a patient bake and a long chill so the center sets without turning dense. Serve it after dinner, at a weekend table, or anytime peaches are ripe and fragrant.

    Build a crust that stays crisp

    Mix the graham cracker crumbs with the sugar and melted butter until every crumb looks evenly coated. Press the mixture firmly into the pan, especially along the bottom edge, so it bakes into a base that can support the filling. A short pre-bake helps the crust hold together and keeps it from softening too quickly once the peaches and batter go in. Let it cool slightly before adding the filling so the bottom layer stays defined.

    Keep the cheesecake filling smooth

    Beat the cream cheese and sugar until the mixture looks fully blended before you add the eggs. Once the eggs go in, mix just until the batter is smooth, then stop so you do not add extra air. The sour cream gives the filling a softer texture and helps balance the sweetness. If the cream cheese is still cool and firm, let it sit at room temperature first; that small step makes it much easier to get a lump-free batter.

    Make the peach layer and cobbler topping work together

    Toss the peaches with brown sugar, cinnamon, cornstarch, and lemon juice so the juices thicken in the oven instead of running through the cheesecake. Spoon only part of the fruit over the crust before the batter goes in, then finish with the rest so the peaches stay visible on top. For the crumb layer, cut the cold butter into the flour, brown sugar, and cinnamon until the mixture forms coarse pieces. Keep the butter cold so the topping bakes up into distinct crumbs rather than a paste.

    Cool, chill, and store for neat slices

    After baking, let the cheesecake sit in the turned-off oven with the door cracked open for one hour. That slow cooling helps the center finish setting and reduces the chance of cracking. Chill the cake for at least 4 hours before slicing; overnight chilling gives the cleanest cuts. Keep leftovers covered in the refrigerator for up to 4 days. If you want to freeze slices, wrap them tightly and freeze for up to 1 month, then thaw them in the refrigerator before serving.

    Peach Cobbler Cheesecake

    Prep Time 30 minutes
    Cook Time 1 hour 10 minutes
    5 hours
    Total Time 6 hours 40 minutes
    Servings: 10 slices

    Ingredients
      

    Crust
    • 180 g graham cracker crumbs
    • 50 g granulated sugar
    • 85 g unsalted butter melted
    Filling
    • 680 g cream cheese softened
    • 200 g granulated sugar
    • 3 piece large eggs
    • 1 tsp vanilla extract
    • 240 ml sour cream
    Peach layer
    • 450 g sliced peaches
    • 65 g brown sugar
    • 1 tsp cinnamon
    • 2 tbsp cornstarch
    • 1 tbsp lemon juice
    Topping
    • 60 g all-purpose flour
    • 100 g brown sugar
    • 1/2 tsp cinnamon
    • 55 g cold unsalted butter cubed

    Method
     

    1. Heat the oven to 160°C with top and bottom heat. Grease a 23 cm springform pan.
    2. Mix the graham cracker crumbs, granulated sugar, and melted butter until the crumbs are evenly moistened.
    3. Press the mixture firmly into the bottom of the pan and bake for 10 minutes, then let it cool slightly.
    4. Beat the cream cheese and granulated sugar until smooth and creamy.
    5. Mix in the eggs one at a time, then add the vanilla extract and sour cream just until combined.
    6. Toss the sliced peaches with brown sugar, cinnamon, cornstarch, and lemon juice.
    7. Spoon half of the peach mixture over the crust, pour in the cheesecake batter, and top with the remaining peaches.
    8. Mix the flour, brown sugar, and cinnamon for the topping, then cut in the cold butter until the mixture is crumbly.
    9. Scatter the topping over the peaches and bake for 60 to 70 minutes, until the center is almost set.
    10. Turn off the oven, crack the door open, and let the cheesecake sit inside for 1 hour.
    11. Chill for at least 4 hours before serving, then top with peach slices and spoon over any glossy peach sauce.

    Notes

    For the smoothest filling, make sure the cream cheese is softened before mixing. If your peaches are very juicy, let them sit briefly after tossing and avoid adding excess liquid to the pan. Serve chilled, and slice with a warm knife for cleaner pieces.

    Note: the images in this post were created with AI (illustrative images).
  • German Chocolate Cheesecake with Oreo Crust

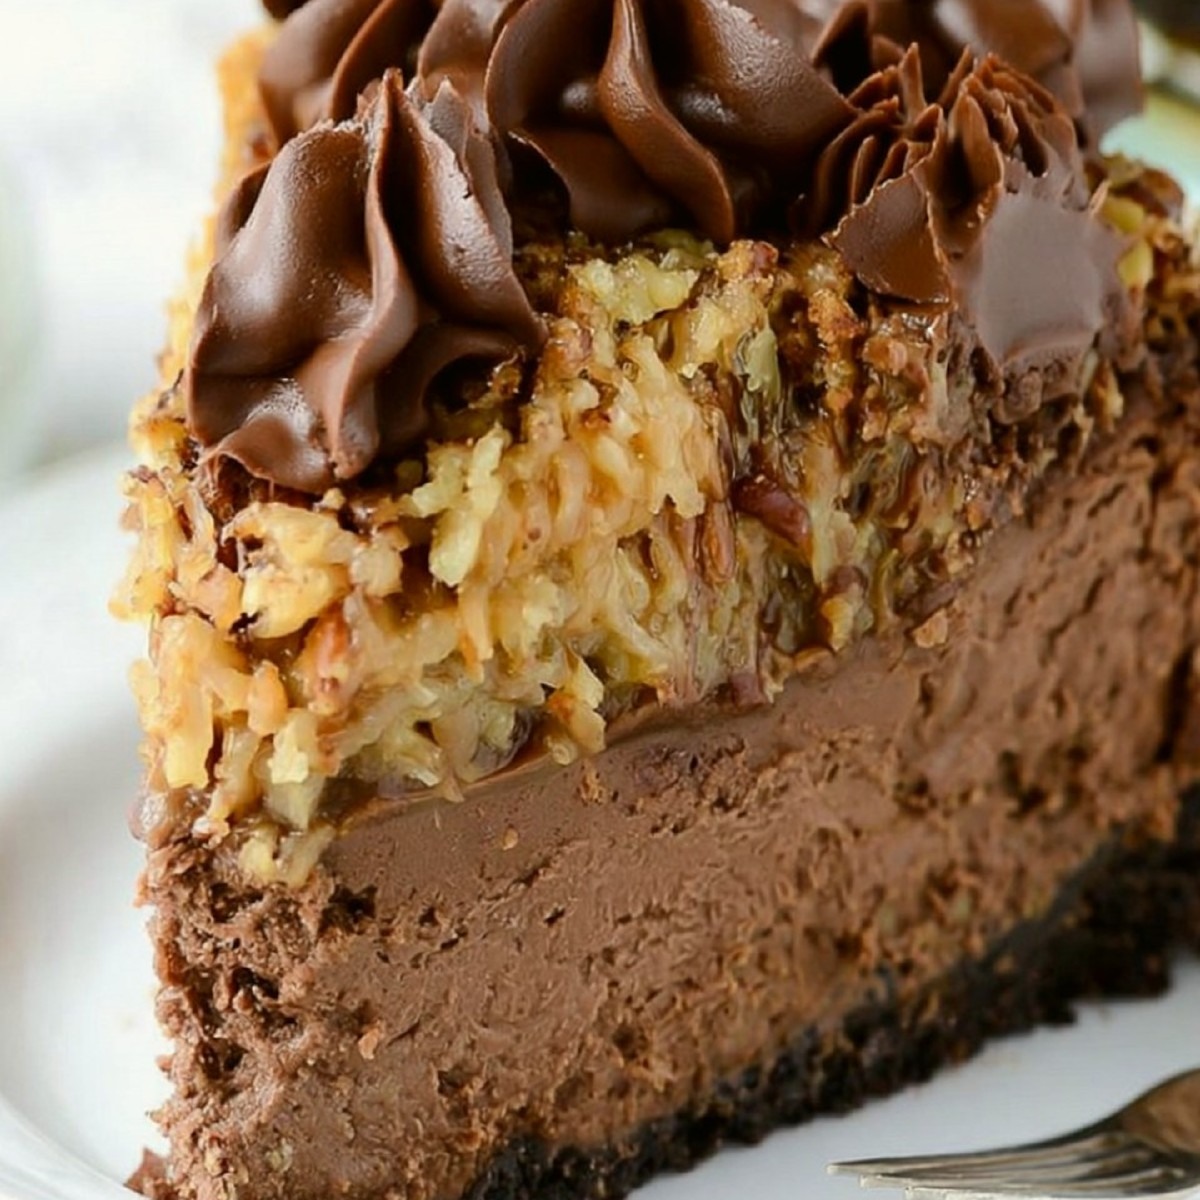
    German Chocolate Cheesecake with Oreo Crust

    If you want a dessert with deep chocolate flavor, a creamy center, and a rich coconut-pecan finish, this cheesecake delivers all three. The Oreo crust adds a crunchy base that balances the smooth filling and gooey topping. For the best texture, you need a gentle bake and enough chill time so the cake sets cleanly. Serve it when you want a showpiece dessert that slices neatly and tastes even better cold.

    How to get a smooth cheesecake filling

    Start with softened cream cheese so you can beat the filling until it is completely smooth before adding the eggs. This helps you avoid lumps and keeps the texture dense but silky. Melted chocolate should be slightly cooled before mixing it in, because very hot chocolate can affect the batter and create streaks. Mix only until combined once the eggs go in; overmixing adds too much air and can cause cracks during baking.

    Baking and cooling tips

    Bake the cheesecake in a moderate oven, ideally with the pan set on a middle rack, so the edges set before the center overbakes. The middle should still have a slight wobble when you remove it from the oven. Let it cool gradually at room temperature before chilling, because a fast temperature change can lead to cracks. Refrigerate it for at least 6 hours, or overnight if you want cleaner slices and a firmer texture.

    Coconut pecan topping and serving ideas

    Cook the topping until it thickens enough to coat a spoon, then let it cool until just warm so it stays spoonable without running over the cake. If you want extra texture, toast the pecans first for a deeper nutty note. You can spread the topping over the whole cheesecake or serve it in a thick layer only on each slice. For a sharper chocolate contrast, add a small pinch of flaky salt on top just before serving.

    Storage and make-ahead guidance

    Store the finished cheesecake covered in the refrigerator for up to 4 days. Keep the topping on the cake if you want the flavors to meld, or store it separately for a cleaner crust if needed. For longer storage, freeze individual slices without the topping for up to 2 months; wrap them tightly and thaw overnight in the refrigerator. Add the coconut-pecan topping after thawing for the best texture.

    German Chocolate Cheesecake with Oreo Crust

    Prep Time 35 minutes
    Cook Time 1 hour 15 minutes
    7 hours
    Total Time 8 hours 50 minutes
    Servings: 12 slices

    Ingredients
      

    Crust
    • 300 g Oreo cookies finely crushed
    • 75 g unsalted butter melted
    Cheesecake filling
    • 900 g cream cheese softened
    • 200 g granulated sugar
    • 25 g unsweetened cocoa powder
    • 200 g dark chocolate melted and cooled slightly
    • 3 stuck eggs large
    • 120 ml sour cream
    • 1 TL vanilla extract
    Coconut pecan topping
    • 120 g evaporated milk
    • 100 g brown sugar
    • 60 g unsalted butter
    • 2 stuck egg yolks
    • 100 g sweetened shredded coconut
    • 100 g pecans chopped

    Method
     

    1. Preheat the oven to 175°C top/bottom heat and line the base of a 23 cm springform pan with parchment paper.
    2. Mix the crushed Oreo cookies with the melted butter, press the mixture firmly into the bottom of the pan, and bake the crust for 8 minutes.
    3. Beat the cream cheese and sugar until smooth, then mix in the cocoa powder, melted chocolate, sour cream, and vanilla.
    4. Add the eggs one at a time, mixing just until combined after each addition to keep the batter dense and smooth.
    5. Pour the filling over the crust and smooth the surface with a spatula.
    6. Bake the cheesecake for 60 to 65 minutes, until the edges are set and the center still has a slight wobble.
    7. Cool the cheesecake at room temperature for 1 hour, then chill it for at least 6 hours or overnight before adding the topping.
    8. For the topping, cook the evaporated milk, brown sugar, butter, and egg yolks over medium heat for 8 to 10 minutes, stirring constantly until thickened.
    9. Stir in the coconut and pecans, cool the topping until warm, then spread it over the chilled cheesecake before slicing.

    Notes

    Use room-temperature dairy for the filling so the batter mixes evenly. If the cheesecake browns too quickly, loosely cover it with foil during the last part of baking. For the cleanest slices, wipe the knife with warm water between cuts.

    Note: the images in this post were created with AI (illustrative images).

  • Hello world!

    Welcome to WordPress. This is your first post. Edit or delete it, then start writing!